 fairfits.co
article · studio layout · 8 min read
How to split a studio into sleeping and living zones
A studio asks your bed and sofa to be roommates. Give the seating its own rug and keep a continuous route beside it, and the room can read as separate places to sleep and sit without a divider across the middle.
Let the rug draw the living area
Start with the seating group you actually use. Put the sofa’s front legs on the rug, bring a nearby chair into the same field where it belongs, and let the rug’s edge mark where the living area ends. The bed can sit beyond that edge without needing a matching rectangle underneath it.
The connection matters more than centering the rug in the apartment. A rug stranded under the coffee table leaves the sofa and chair outside the group it was meant to gather. Pulling it beneath their front legs gives the seating a shared base; the exposed floor beyond it lets the sleeping area read separately.
Use the site’s editorial rug-sizing convention to check that relationship. It is a design convention, not a building requirement.
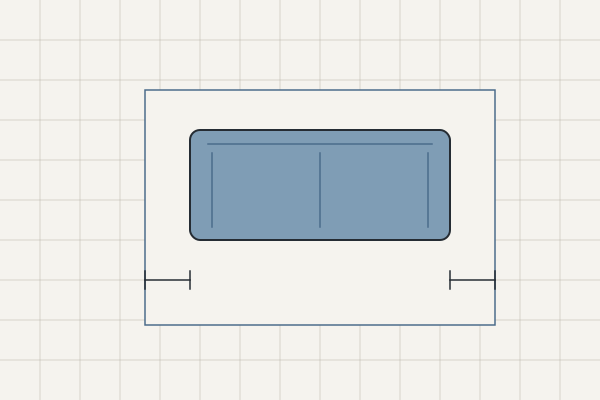
For this editorial working, use a rug with the actual dimensions shown below and place its long edge parallel to the sofa.
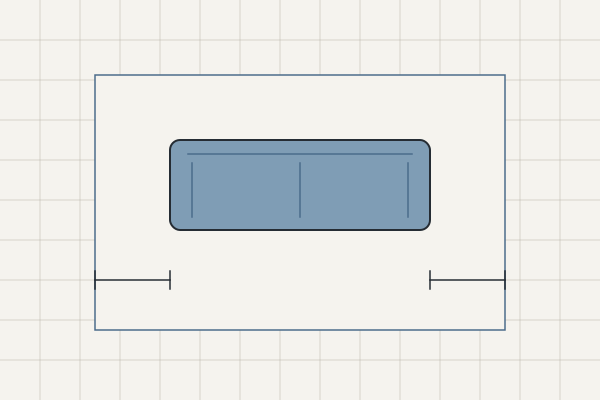
Substitute the finished rug dimensions and your sofa’s outside width. The rug-size guide explains the checks in full. If bringing the chair onto the rug blocks its approach, leave it outside the group or change the rug; the composition is not worth an awkward seat.
Keep a walkway between the zones
Prefer a boundary that follows a route you already need: from the entrance toward the bathroom, closet, or bed. That puts movement along the edge of the living area instead of through the space between the sofa and coffee table. It may leave the seating off-center. That is a reasonable cost when it keeps people from crossing in front of someone sitting down.
Where this seam carries the studio’s main traffic, use the main-walkway check.
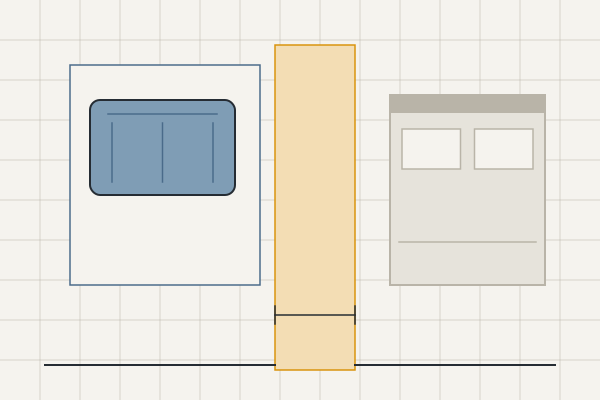
Here is an editorial width working, not a complete studio plan. Assume a wall-side bed and a sofa against the opposite wall, with their long sides parallel. Across the room, the bed’s outside width, the shared route, and the sofa’s depth all compete for the same span.
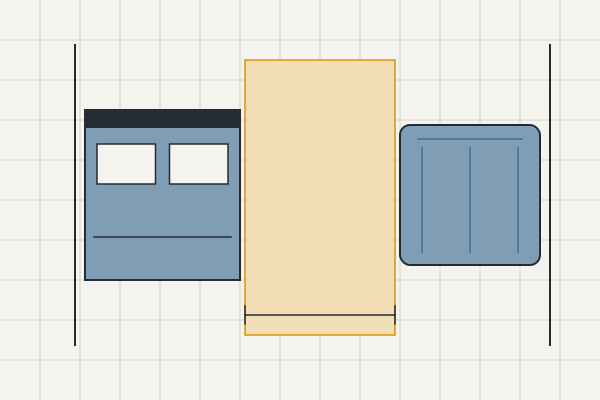
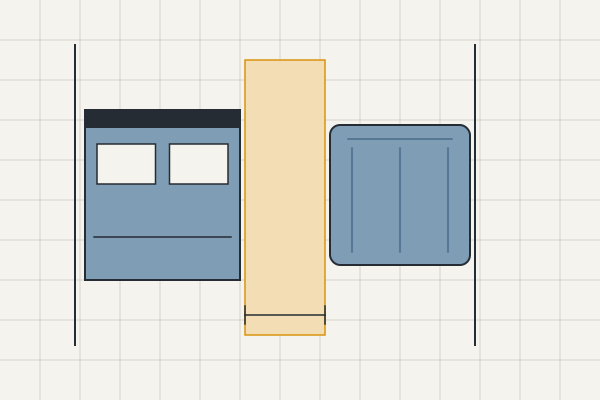
Substitute your clear room width, assembled frame width, and sofa depth. The narrower working already fails: you would squeeze past the furniture before adding anything else. Try placing the zones at opposite ends of the room, then check the room’s length and the route around the bed’s foot. A width subtraction cannot establish that the doors, storage, and seating all work.
A rug may share walking floor. Its edge is not a wall to subtract from the gap, but a curling corner or thick edge still changes the crossing. Tape the outline, walk the natural route, and avoid placing a corner exactly where you turn.
Give the bed’s open side the route
Moving a long side of the bed toward a wall can release floor for the shared seam. Protect at least 24″ on the usable bedside approach; where that approach also carries the main route, use 30″ instead, aiming for 36″.
These are overlapping uses of the same floor, so apply the stronger requirement rather than adding the allowances together. Keep nightstands and storage openings from quietly consuming it.
The wall-side studio bed guide works through the compromise: the wall-side sleeper loses an independent way out, and making the bed becomes harder. If that cost matters every day, keep access on both sides and find the zoning boundary elsewhere.
Let the TV look across the boundary
The viewing line can cross the walkway even though the furniture cannot occupy it. A screen beyond the seam may serve the sofa without requiring a second cabinet inside the seating group.
Check the view from where your head actually rests when seated, with the screen at its intended position. Then have someone walk the route. If the path crosses directly in front of the picture, sharing that stretch of room means accepting interruptions; a screen on another wall may be the better arrangement.
Keep any stand and its cables out of the usable route. Separating activities with a rug does not provide privacy or contain sound, so a TV placement that suits the sofa can still be a poor neighbor for someone sleeping.
Add a boundary piece only if it earns the floor
A low, open-backed piece can mark the boundary while leaving parts of the room visible through or above it. That makes it useful when you want to see the living area from the bed. The cost is exposed contents and little screening. Once the shelves fill with baskets and books, much of that openness disappears.
A closed cabinet makes a stronger visual division because its solid back hides what is beyond it. Prefer it when concealing the bed or storing belongings matters more than the shared view. Check that its back is suitable to face the room, and that its doors or drawers open toward usable floor.
Either choice spends depth. Add the full footprint to the plan and measure the seam again, including the space needed to use the piece. If it takes the route below the clearance you just protected, leave it out.
Tape the bed, sofa, rug, and shared route before buying a divider. Walk from the entrance to the bathroom and closet, sit down, and get into bed. Keep the rug boundary where those ordinary trips still work.